Installing Rust with Rustup
-
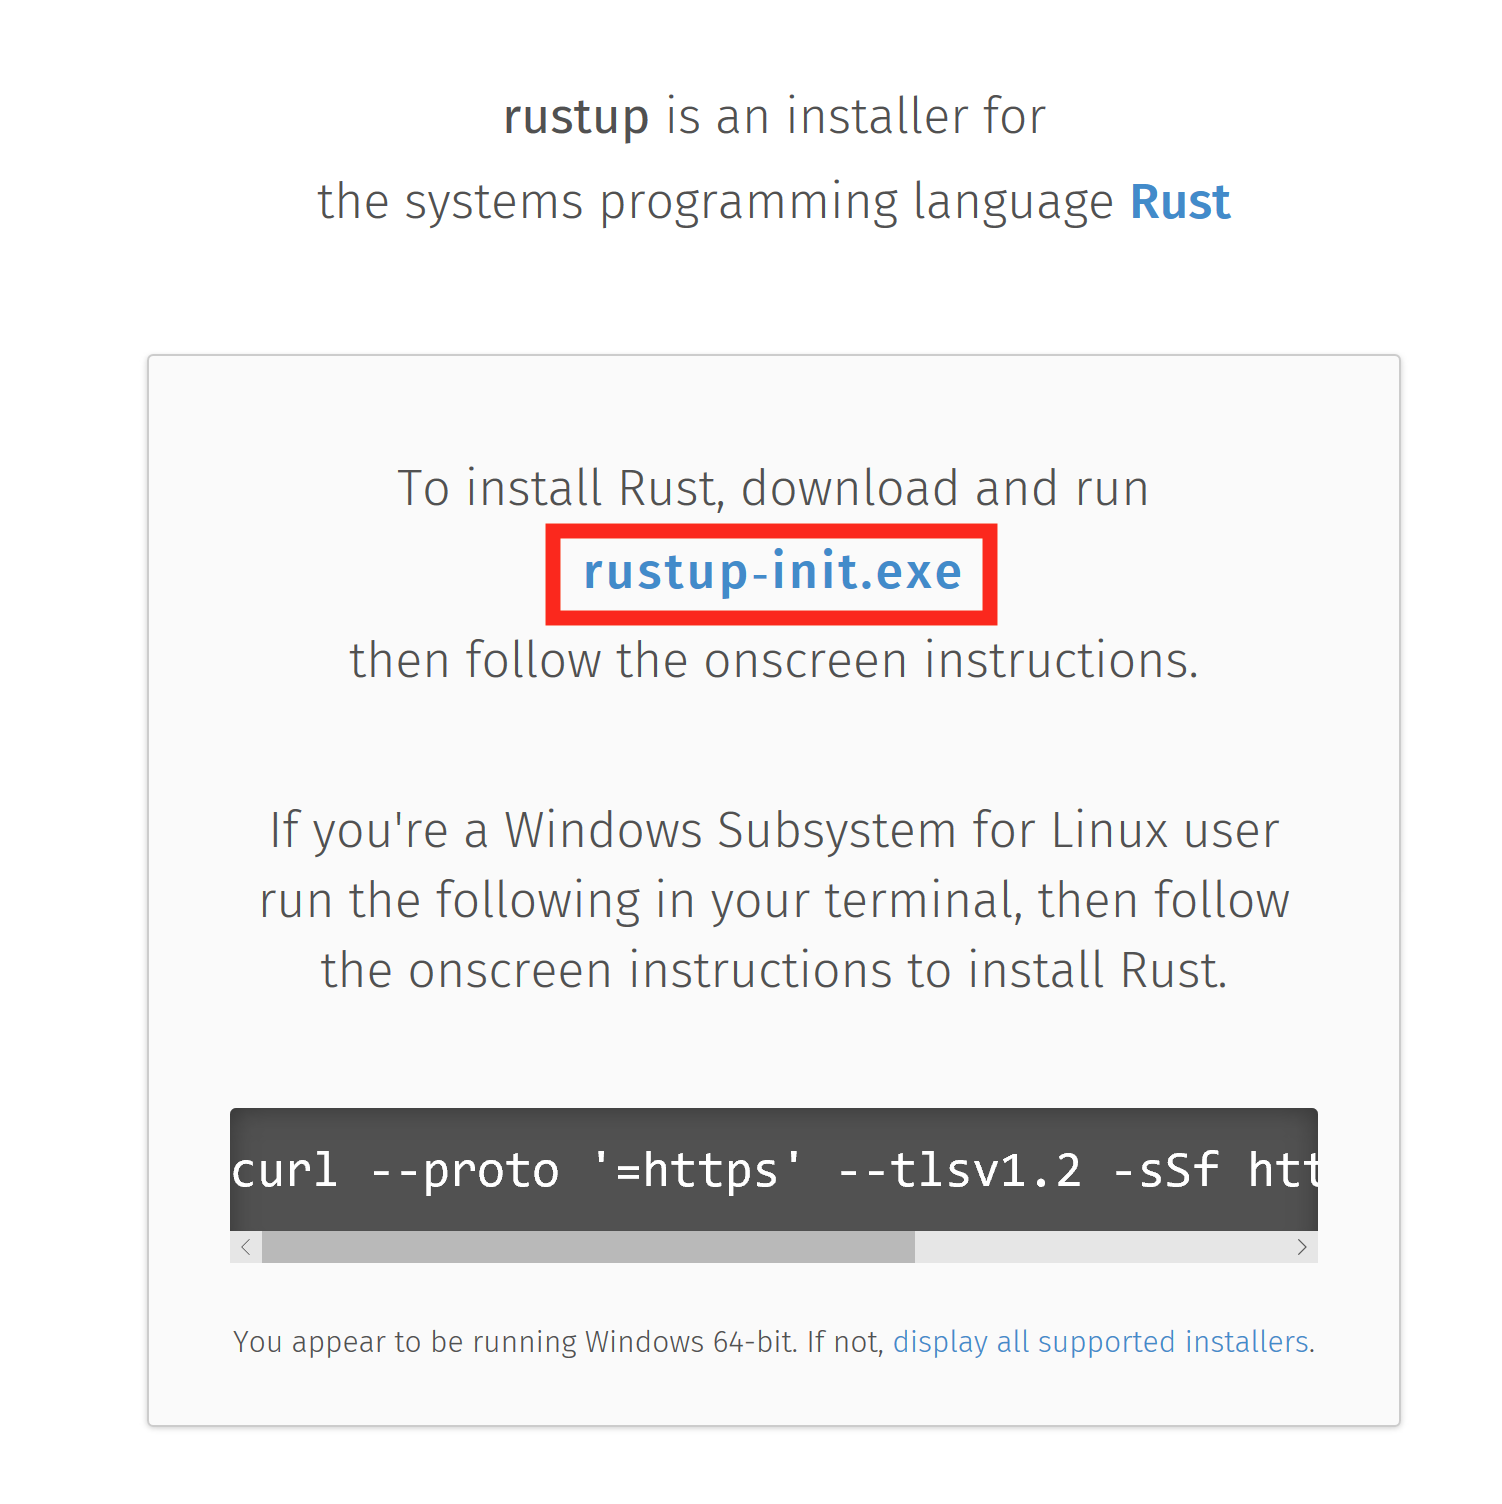
Visit rustup.rs, download, and then run rustup-init.exe
-
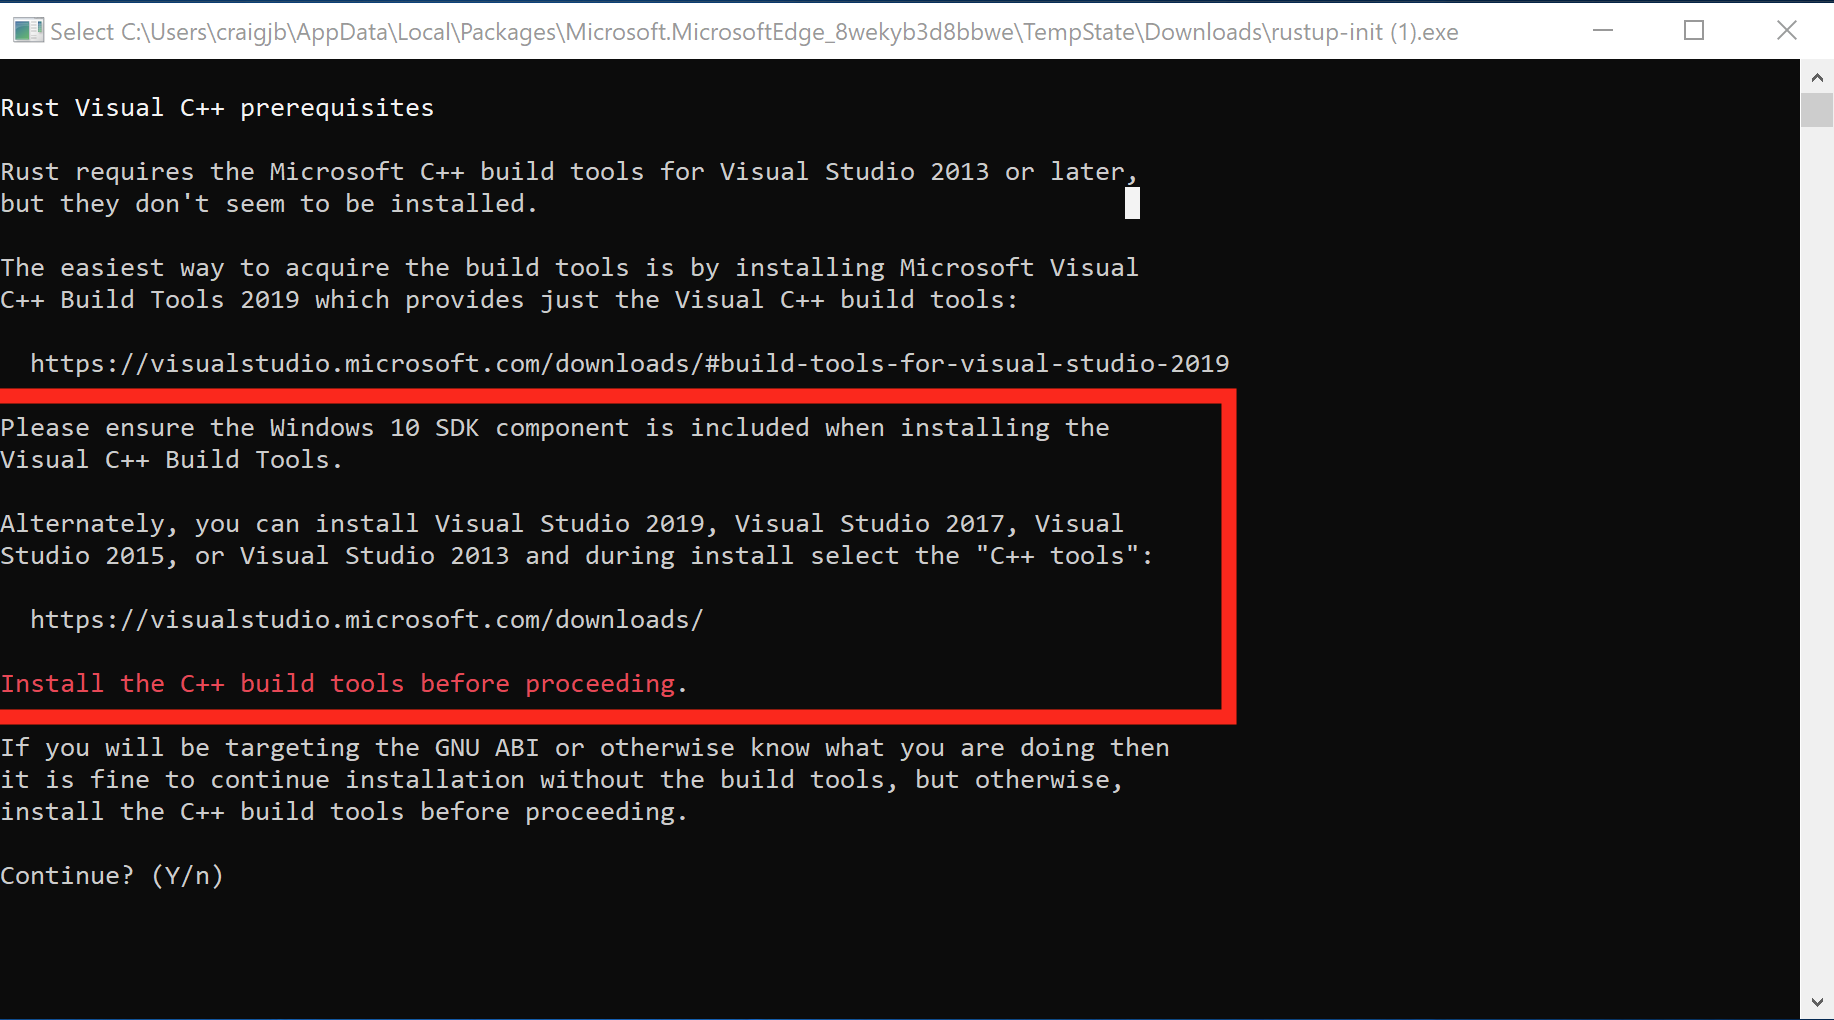
Make sure you have the dependencies met. The Rust installation includes the Rust compiler, but Rust uses the system linker to create the final executables and link to system shared libraries (DLLs). So, we have to make sure a usable linker and system libraries are installed.
- If you already have one of the listed Visual Studio versions installed with C++ build tools, the dependencies should be met already
- If later you get an error about "Link.exe", follow step 2
- Otherwise, install these:
- If you already have one of the listed Visual Studio versions installed with C++ build tools, the dependencies should be met already
-
Press
1and thenenterto proceed with the installation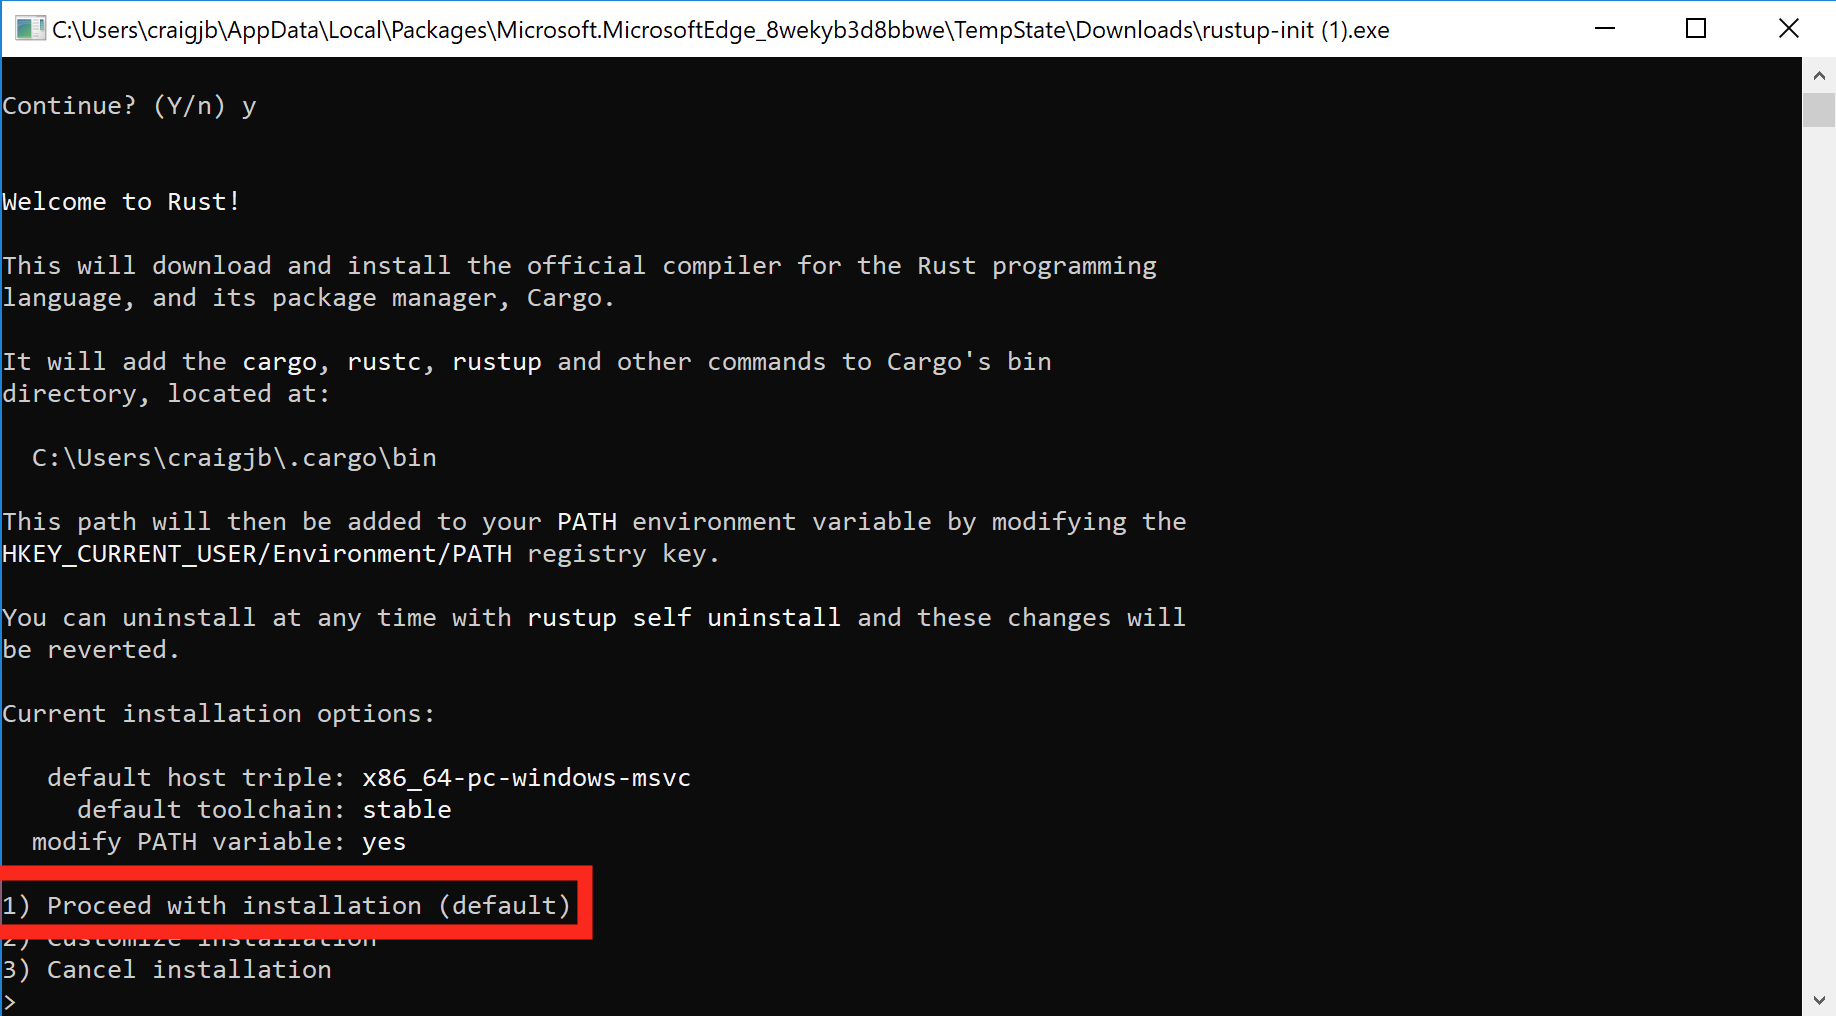
-
Once the installation is complete, the below message should show. Press
enterto close the window.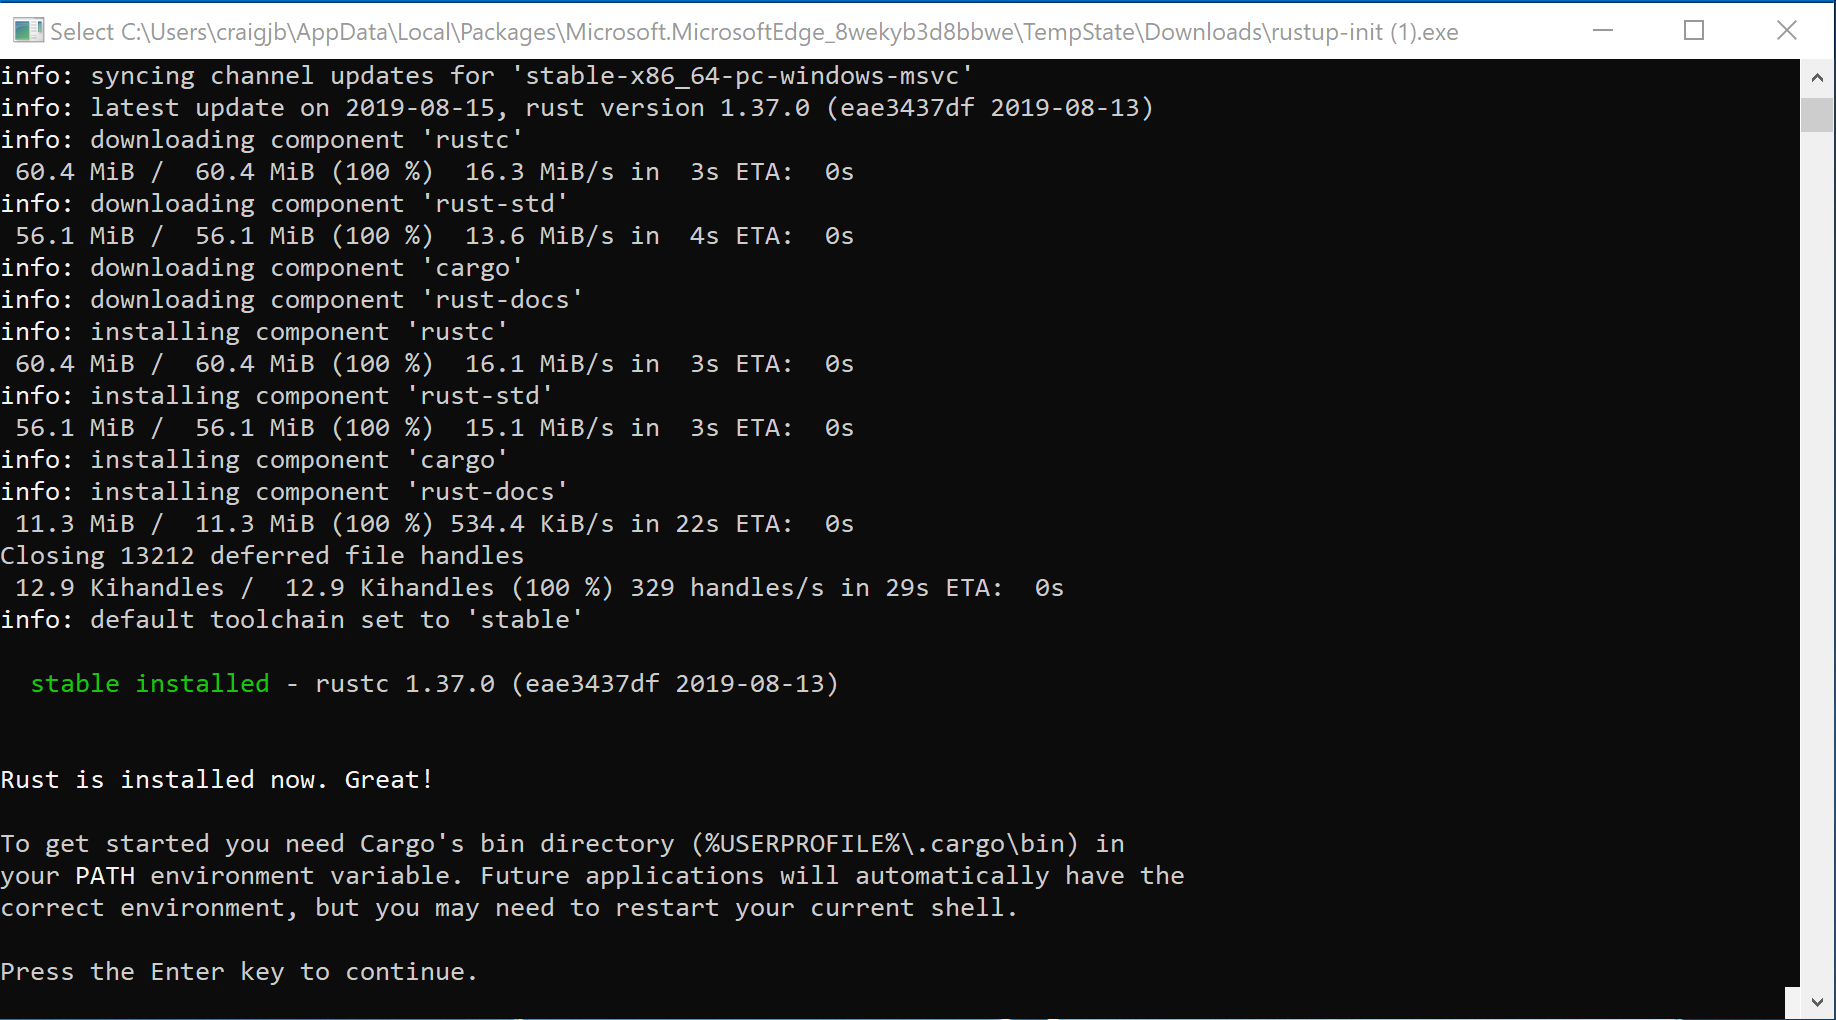
-
Test the rustup installation:
- Open a new command prompt window
- Run the command
rustup. The command should show help information.
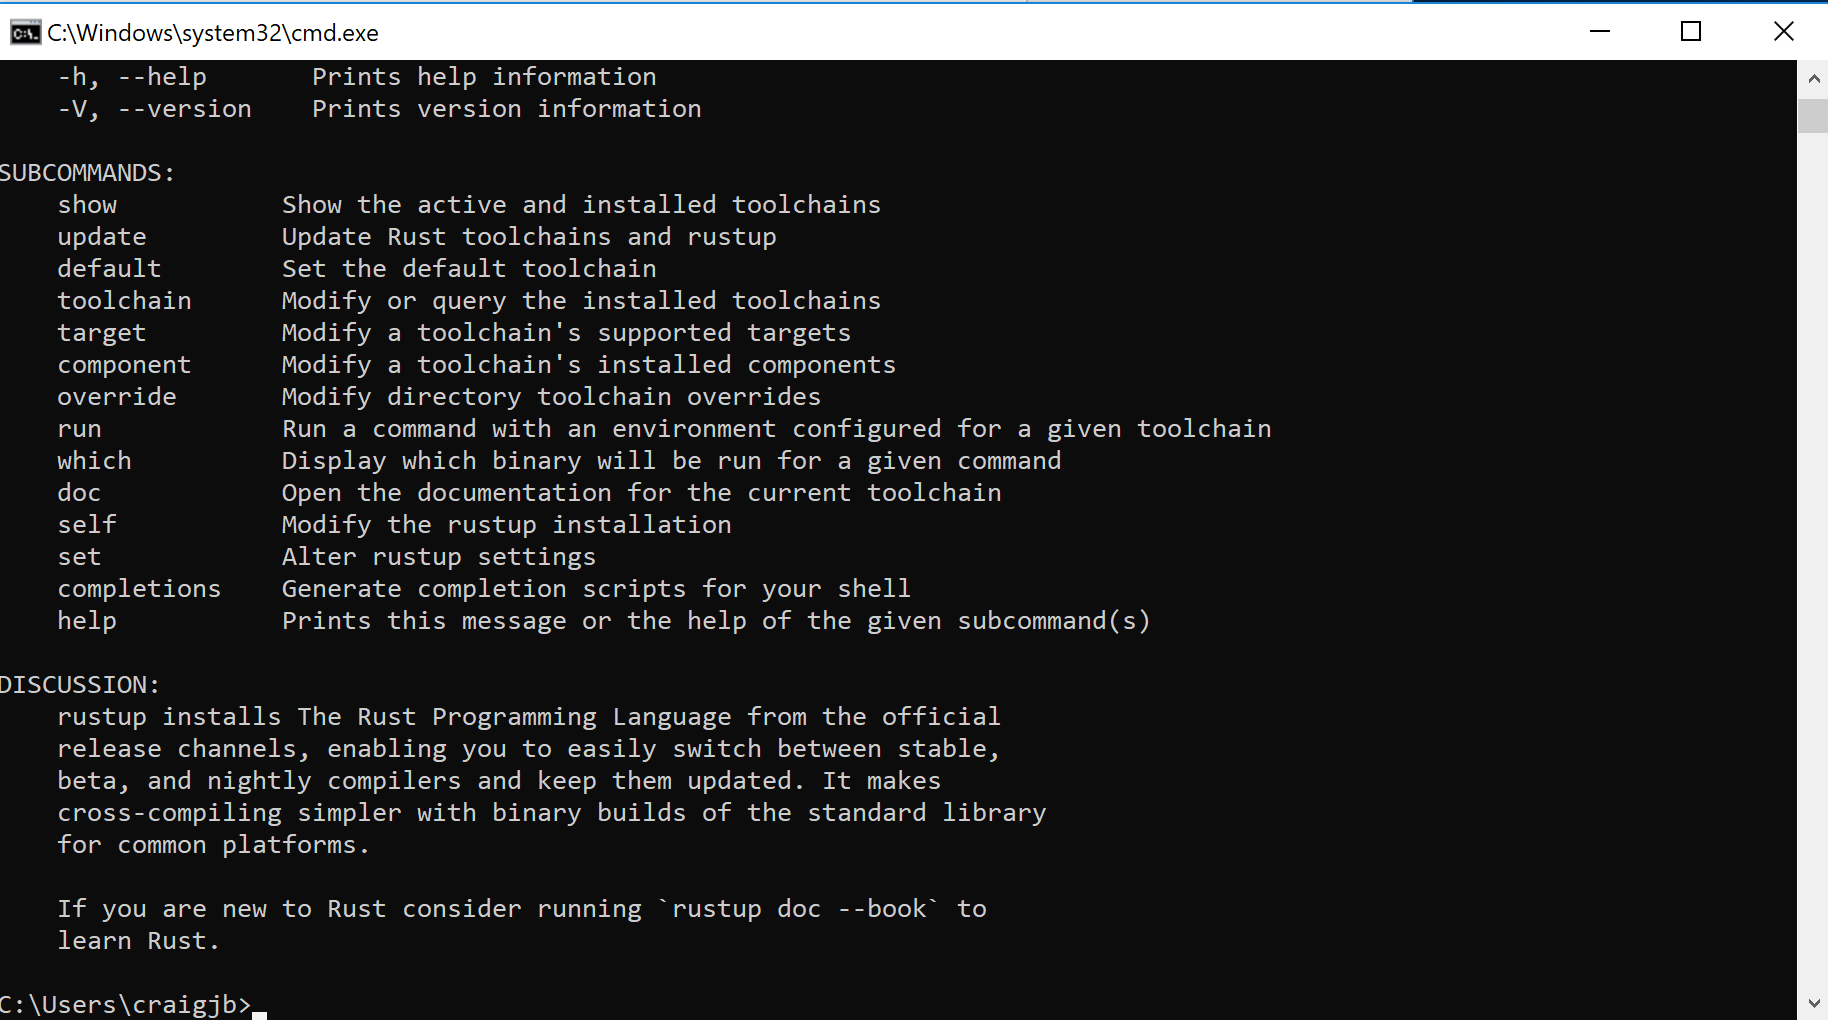
- If the
rustupcommand fails, add%USERPROFILE%\.cargo\binto yourPATHenvironment variable.
-
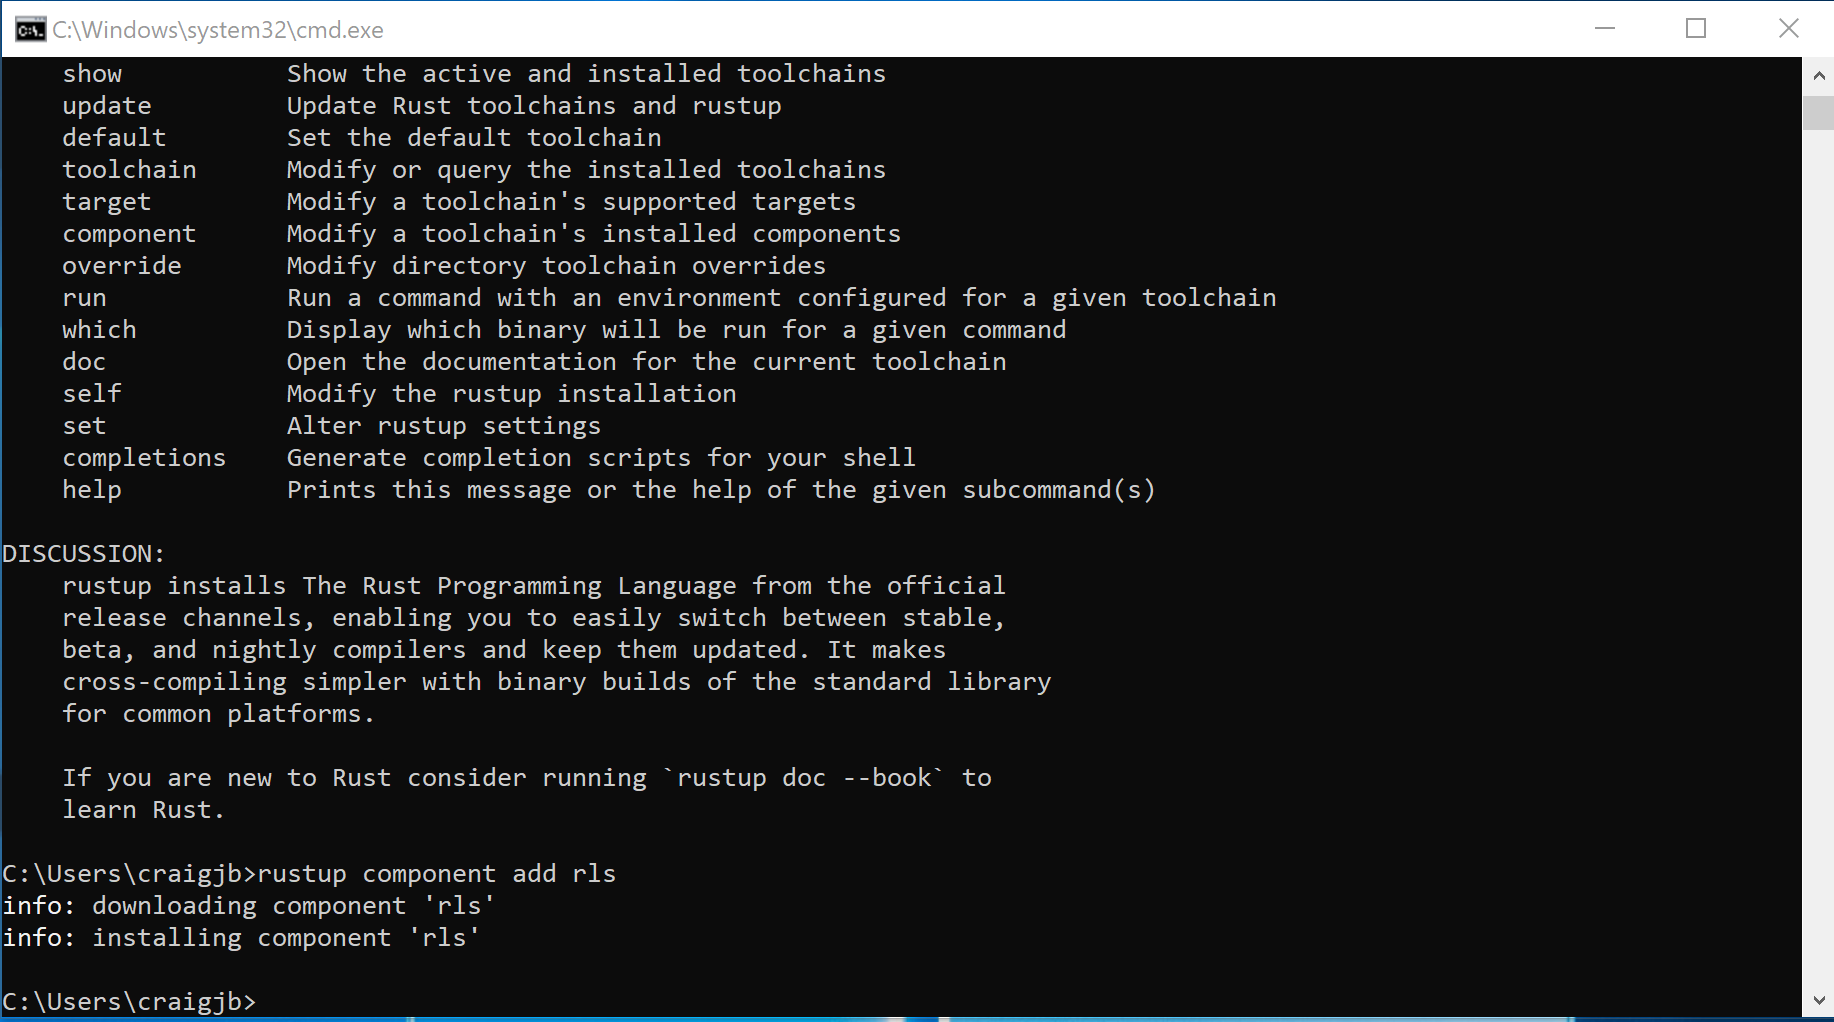
Install the Rust Language Server (RLS):
- Open a command prompt window (you can reuse the same window)
- Run the command
rustup component add rls. The command should download and install the RLS.
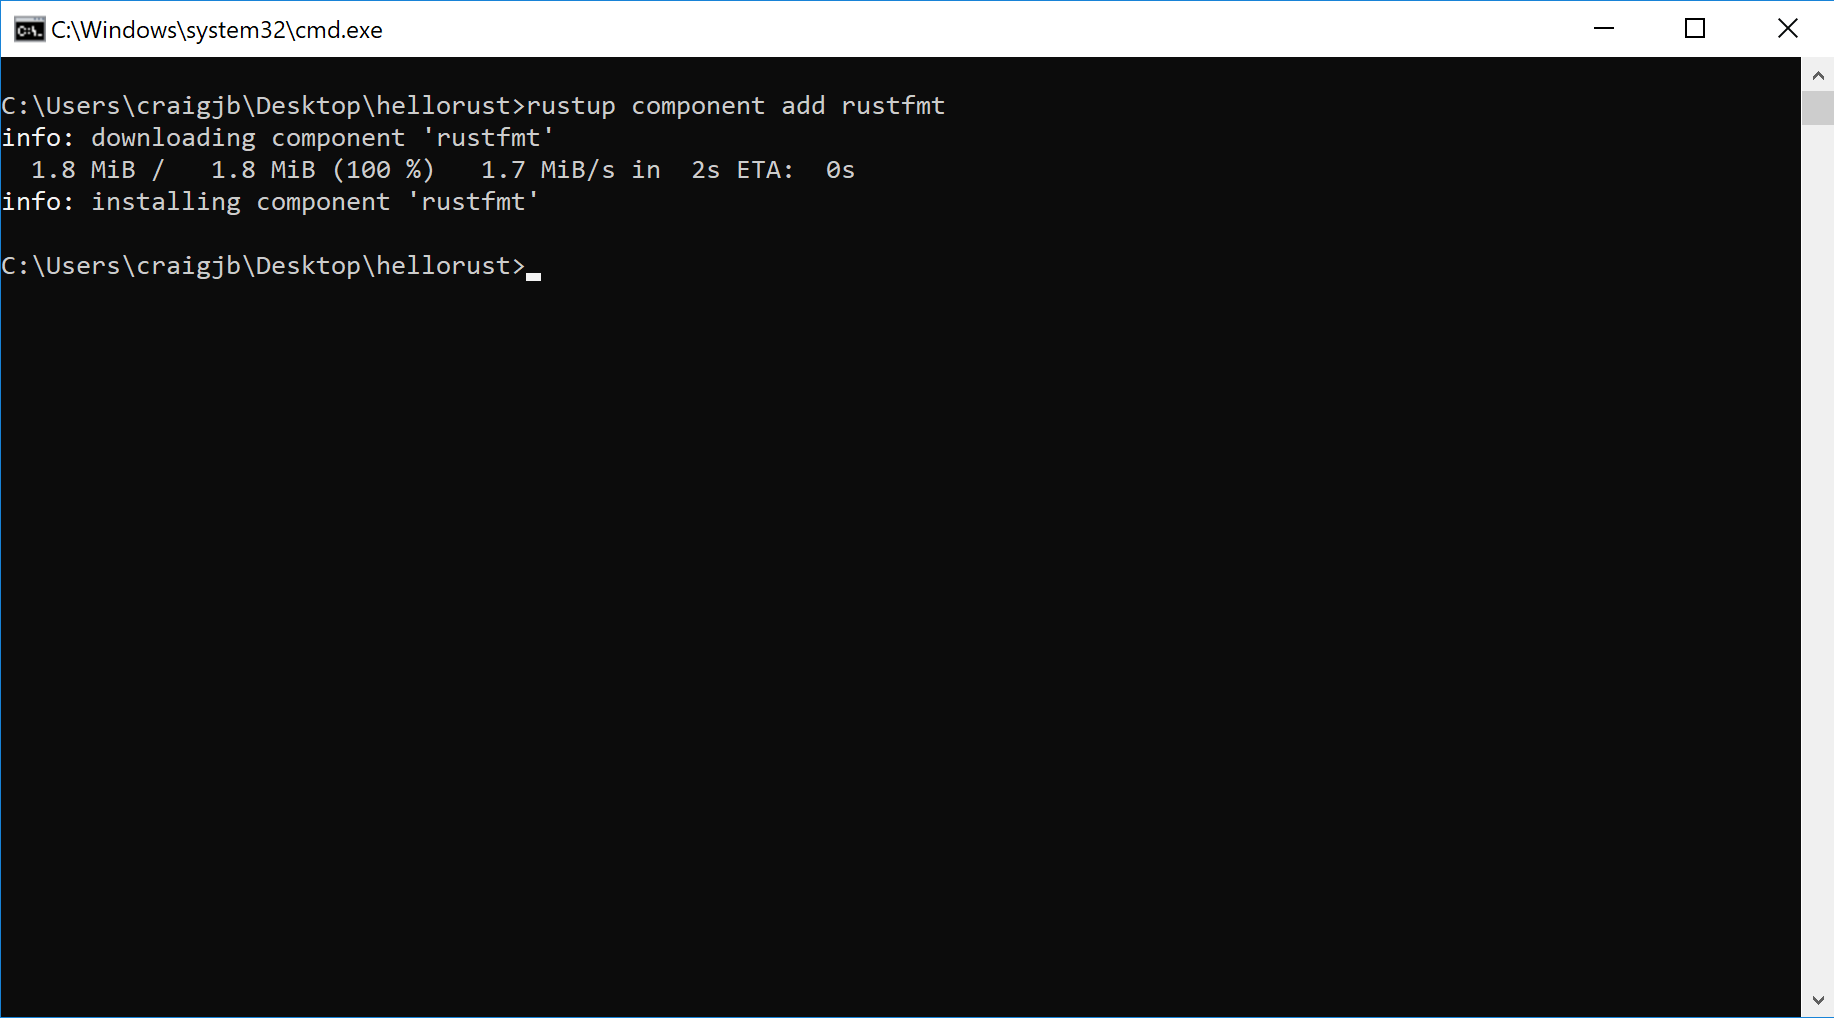
- Install the rustfmt component by running the command
rustup component add rustfmt
Choosing your editor
You only need one of the following editors, or another if you prefer a different one, but the goal is for you to have RLS and Code Formating (rustfmt) installed and enabled.
Configuring GVim 8.x for Rust with the RLS
The steps below configure GVim 8.x on Windows to support Rust and use the Rust Language Server (RLS) for autocompletion.
- Make sure you have a working Git installation. (Download Here for Windows)
- Visit https://rls.booyaa.wtf and follow the steps for your preferred Vim package management strategy.
- Modify your vimrc to include the below snippet. The guide linked in the previous step is still configured to use the Rust nightly build, since the RLS used to only be available in the nightly builds. RLS is now available in stable, and we installed stable Rust (the default). The below snippet should replace the one from the linked guide, and changes the 'cmd' to use stable instead of nightly.
if executable('rls')
    au User lsp_setup call lsp#register_server({
        \ 'name': 'rls',
        \ 'cmd': {server_info->['rustup', 'run', 'stable', 'rls']},
        \ 'whitelist': ['rust'],
        \ })
endif
-
Make sure
filetype plugin indent onandsyntax enableand lets add format on save as well likelet g:rustfmt_autosave = 1 -
Restart GVim or reload your vimrc
-
Open a Rust file and test our autocompletion (for example start typing
use std::)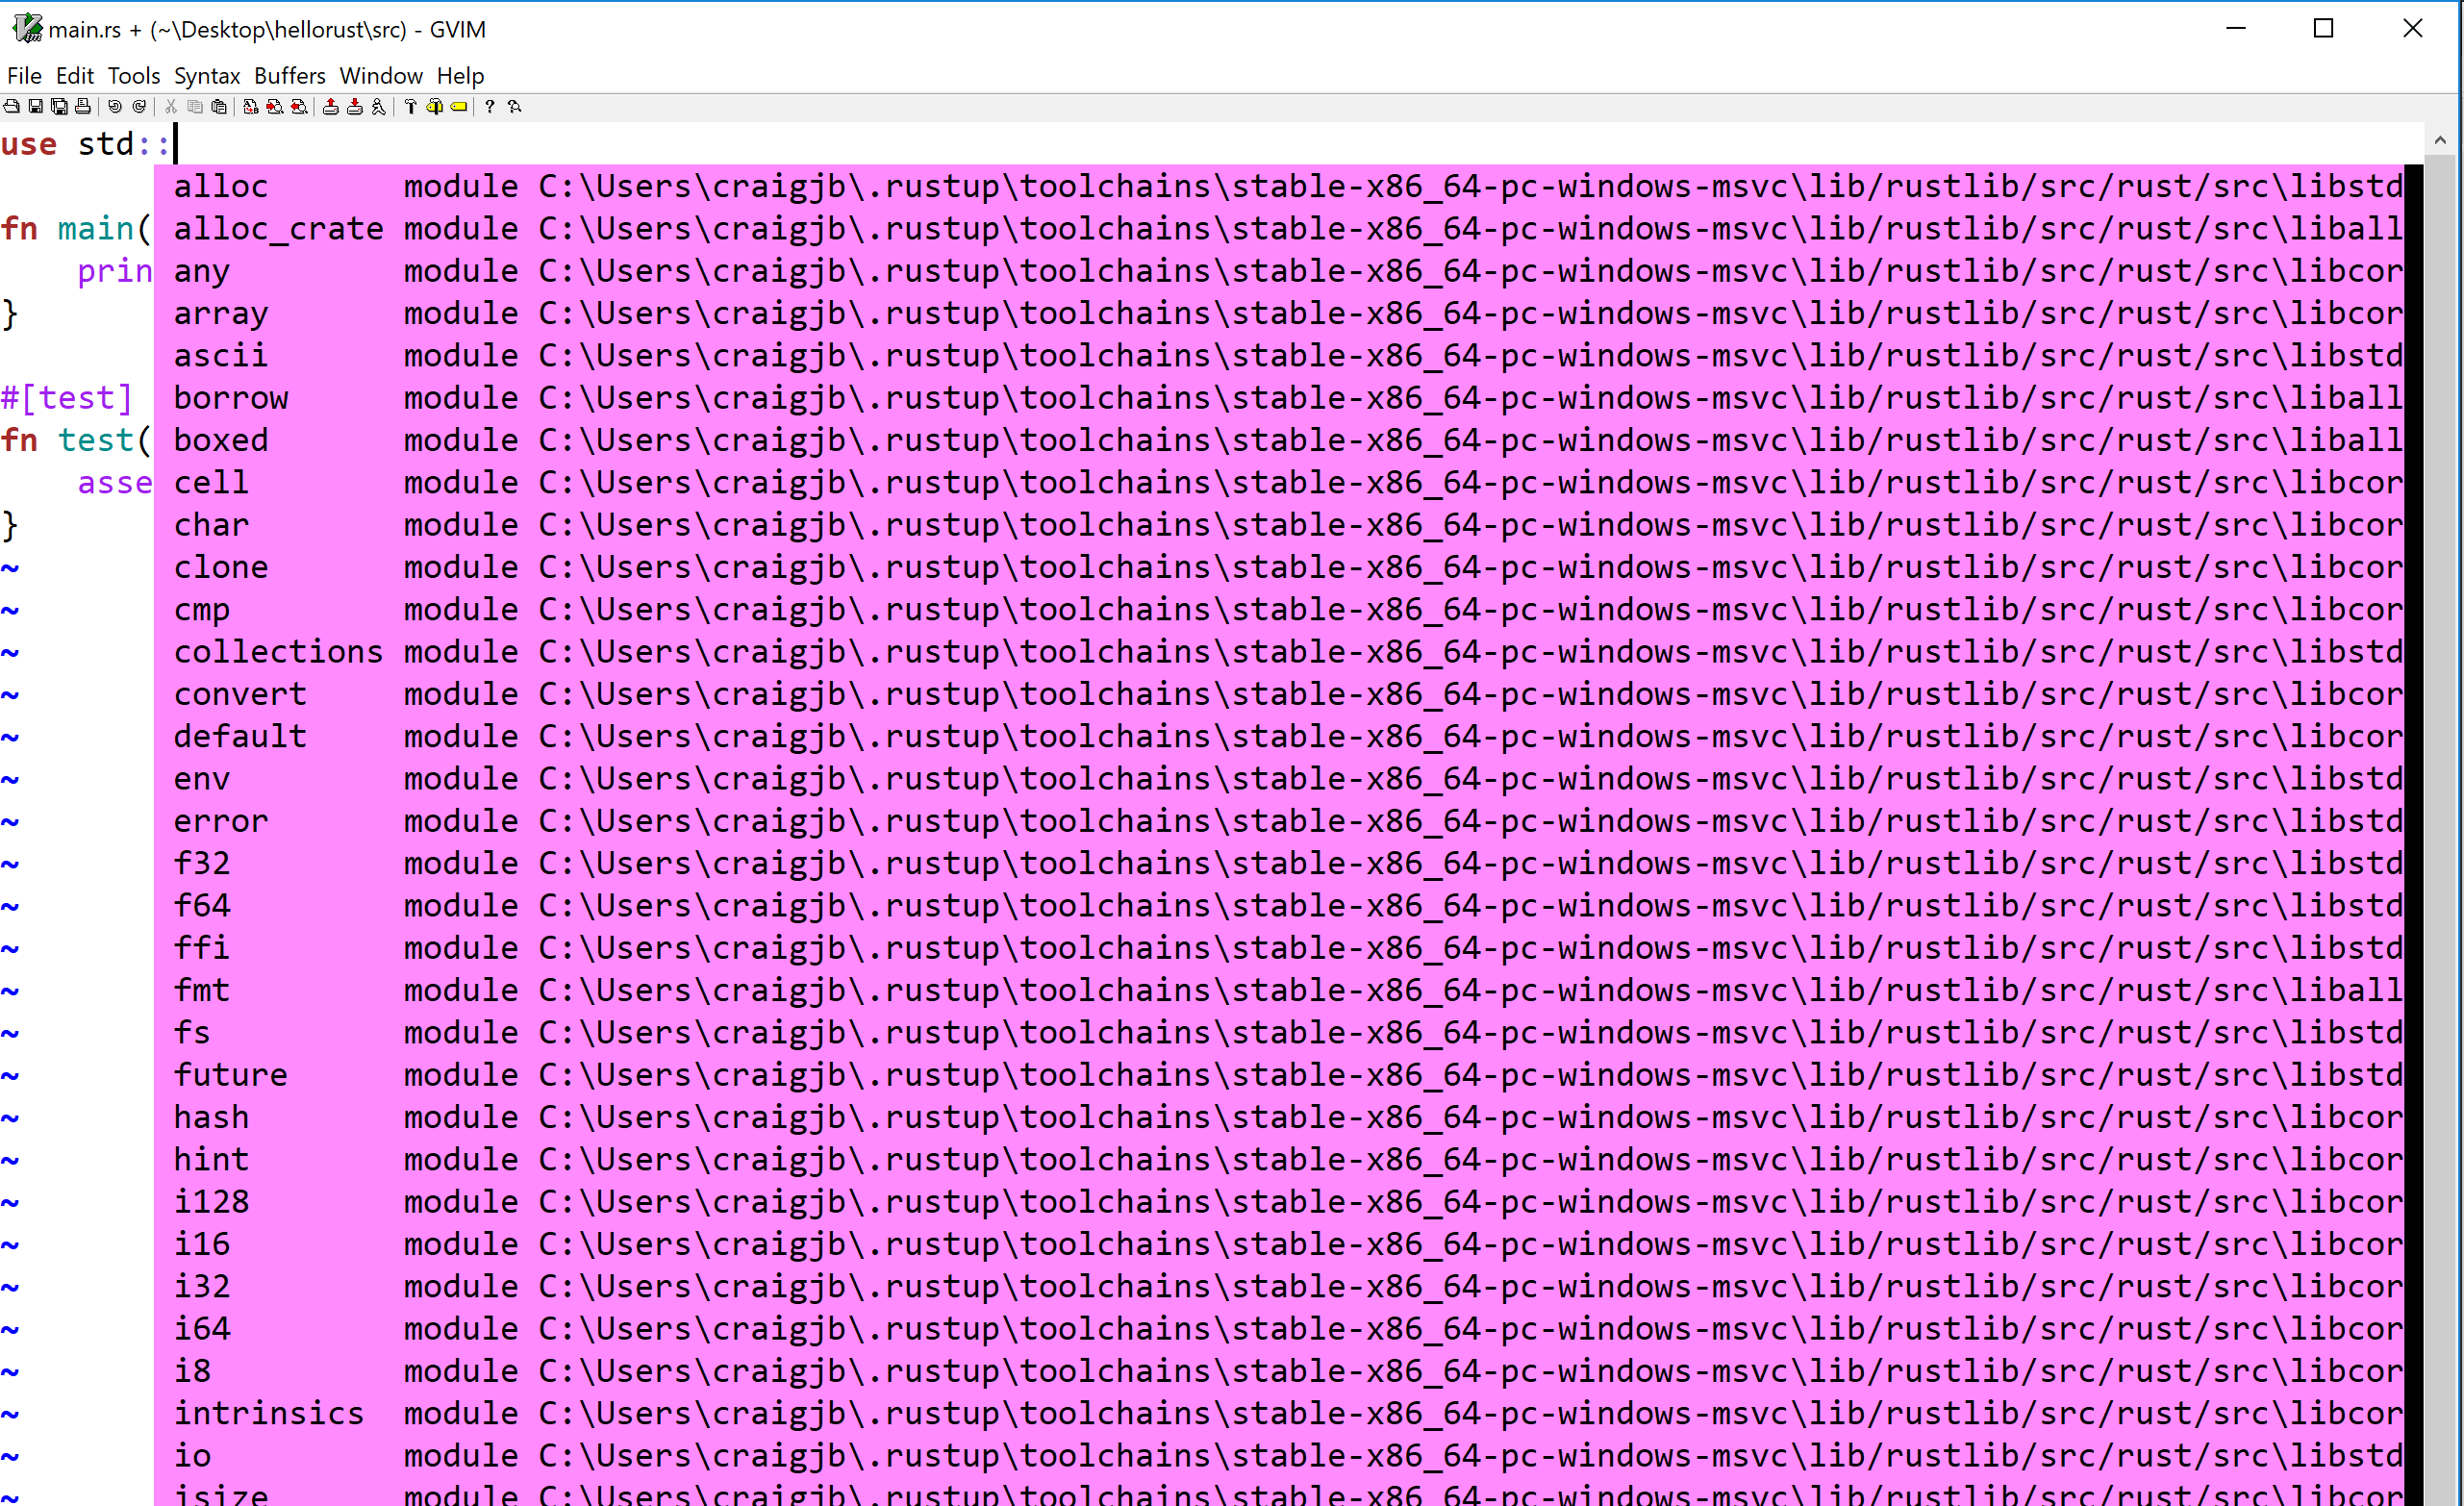
Configuring VS Code for Rust with the RLS
The steps below configure VS Code on Windows to support Rust and use the Rust Language Server (RLS) for autocompletion and incremental compilation to display warnings and errors.
-
Install the Rust (rls) extension by user 'rust-lang' in VS Code. There are several other plugins, but this one is the most maintained.
-
Reload the window in VS Code, or restart VS Code
-
If you see an error message that the RLS could not be started or that the extension could not find rustup, then you will have to configure VS Code's path for rustup:
-
Open VS Code preferences and navigate to the Rust extension preferences
-
Modify the rustup path to use an absolute path to your installation:
C:\Users\<username>\.cargo\bin\rustup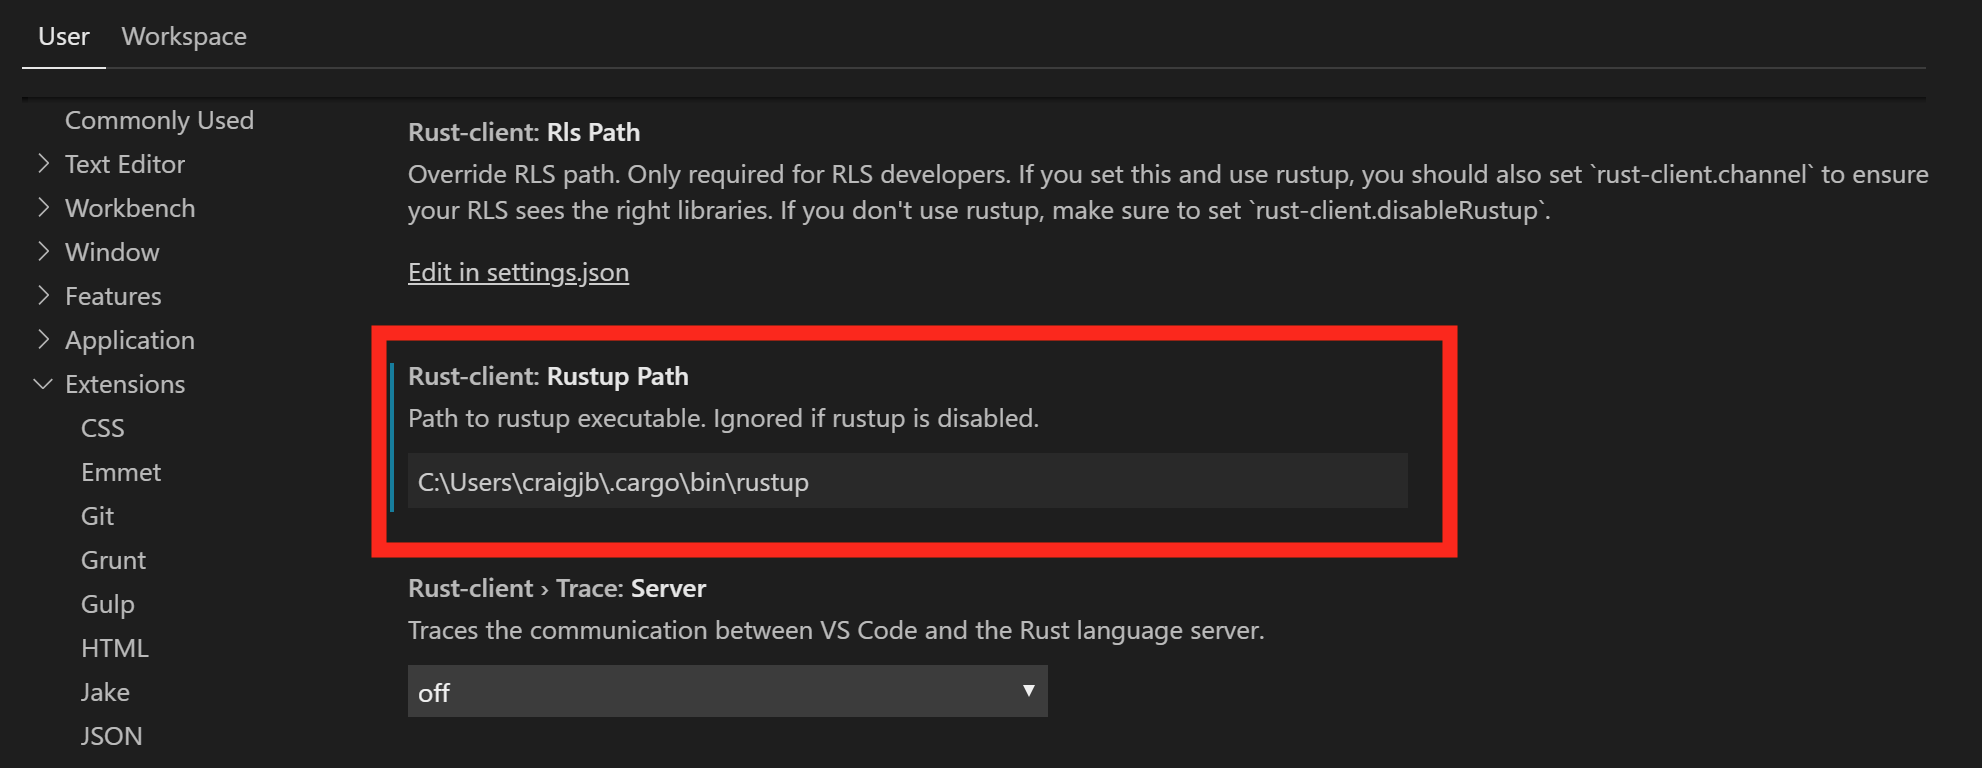
-
Reload the window in VS Code, or restart VS Code
-
You may see a prompt in the lower-right to install the RLS. If so, click yes.
-
-
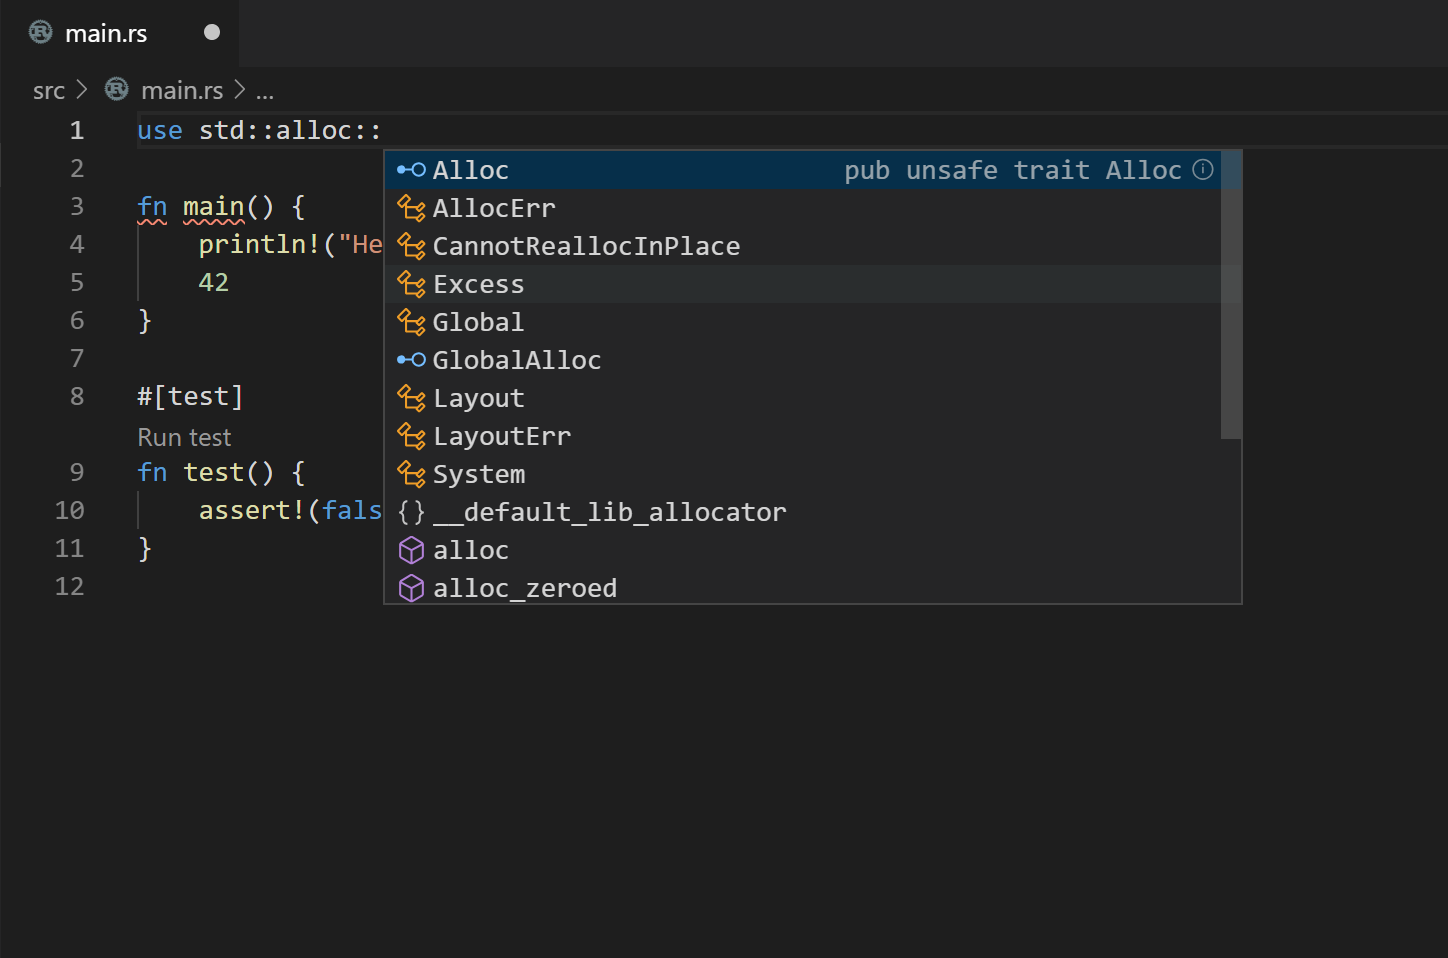
Open a Rust file and test out the RLS:
- Try autocompletion (for example start typing
use std::) at the top of a file - Try the incremental compilation (for example
println!("Hello, world!") blah blah 42 42should show an inline error)
- Try autocompletion (for example start typing
-
Enable format on save in VScode settings. Code->Preferences->Settings->Text Editor->Formatting->Format On Save